Blushing Perfection: An Elegant How-To For Styling Short Pink Nail Art

Blushing Perfection: An Elegant How-To For Styling Short Pink Nail Art
When it comes to short pink nail art, the key to blushing perfection is all about the details. Whether you’re a seasoned nail artist or a DIY enthusiast, mastering the techniques for creating stunning short pink nail art is easier than you think. With a few simple steps and the right tools, you can achieve a beautifully styled look that’s perfect for any occasion. So, grab your nail polish and get ready to learn the simple steps for creating a blushing masterpiece with Discounted Packaging’s expert guide.
Preparing Your Nail Canvas
Before you start painting, it’s essential to prepare your nail canvas. Begin by shaping your nails to the desired shape and size. For short pink nail art, a classic oval shape works beautifully. Use a nail file to smoothen out any ridges or imperfections, ensuring a smooth surface for your polish.
Once your nails are prepared, apply a base coat to protect your natural nail and promote even polish adhesion. This extra step will help prevent your polish from staining your nails and make cleanup easier. With a base coat in place, you’re ready to start painting!
Choosing the Right Polish
When it comes to short pink nail art, the right polish can make all the difference. Look for a polish that is highly pigmented and has a smooth, buttery consistency. Discounted Packaging offers a wide range of pink shades that are perfect for creating stunning nail art designs.
For blushing perfection, choose a polish that is one to two shades lighter than your natural skin tone. This will help create a soft, natural-looking finish that complements your features beautifully. With the perfect polish in hand, you’re ready to start painting!
Painting the Perfect Pink
Now it’s time to start painting! Begin by applying a thin layer of white polish to the center of your nail. This will create a stark contrast that will make your pink polish pop. Once the white polish is dry, use a small nail brush to paint a thin layer of pink polish along the center of your nail.
Start at the cuticle and work your way down to the tip of your nail, using smooth, even strokes to create a seamless finish. Make sure to leave a small border of white polish at the tip of your nail to create a beautiful, ombre-inspired effect.
Adding Blush-Tone Accents
To add an extra touch of elegance to your short pink nail art, use a small nail brush to paint blush-tone accents along the tips of your nails. This will create a beautiful, graduated effect that adds depth and dimension to your design.
Choose a blush-tone polish that is one to two shades darker than your pink polish, and apply it along the tips of your nails in smooth, even strokes. Start at the center of your nail and work your way outwards, using a light hand to create a soft, subtle finish.
Sealing Your Masterpiece
Once you’ve finished painting your short pink nail art, it’s essential to seal your design with a top coat. A good top coat will help protect your polish from chipping and fading, ensuring your masterpiece stays looking blushing perfect for days to come.
Apply a thin layer of clear top coat over your pink polish, making sure to cover the entire nail surface. Use a light hand to avoid pooling or streaking, and allow the top coat to dry completely before applying a second coat if necessary.
Finishing Touches
With your top coat dry, you’re ready to add the finishing touches to your short pink nail art. Use a small nail file to gently smooth out any ridges or imperfections, ensuring a smooth surface for finishing touches.
Finally, apply a moisturizing cuticle oil to hydrate your cuticles and create a beautiful, healthy-looking finish. With your nails looking blushing perfect, you’re ready to take on the day in style!
Conclusion
Creating stunning short pink nail art is easier than you think with Discounted Packaging’s expert guide. By following these simple steps, you can achieve a beautifully styled look that’s perfect for any occasion. Remember to choose the right polish, prepare your nail canvas, and don’t forget to seal your masterpiece with a top coat. With these tips in mind, you’ll be well on your way to blushing perfection. Happy painting!
Recent Posts:
How to Make Waterproof Cardboard? 7 Proven Methods for 2025
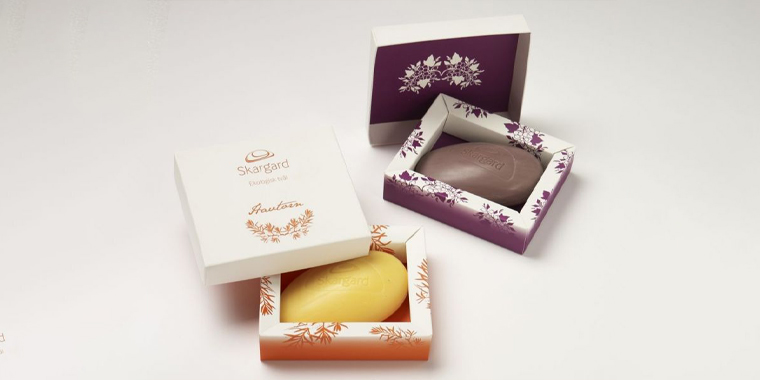
Eye-Catching Soap Packaging Ideas for a Luxurious Look
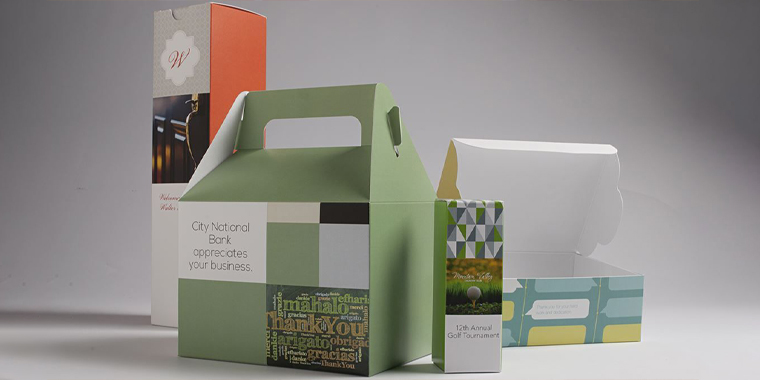
The Complete Guide to Understanding Product Packaging Inserts
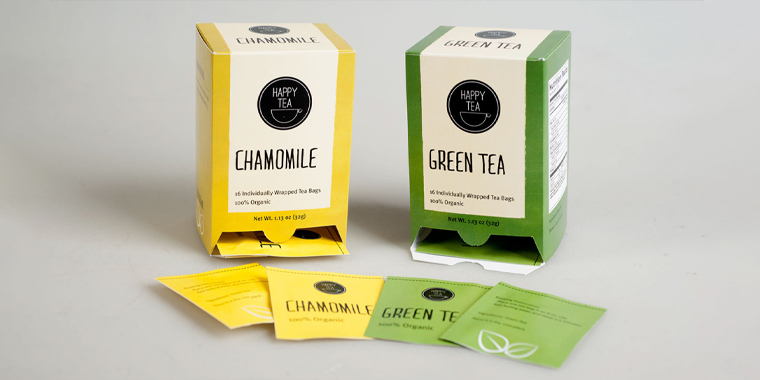
Tea Box Design and Packaging Ideas That Takes The Lead

Curious to know innovative solutions?! Let's get started!
Contact our packaging experts today for a free consultation and receive an instant, no-obligation price estimate.
Get a quoteRelated Posts
Find the perfect packaging solutions tailored to your industry niche.